Setting up a mail server is a complex process. Beyond the technical challenge of configuring an SMTP server, many large companies take stringent measures to combat spam and potential security threats from unverified email domains.
The easiest approach is to use an established provider like Google or Microsoft, leveraging their existing infrastructure. Gmail and Outlook are excellent tools, especially for organizations utilizing Azure or Google Cloud Services.
However, I decided to take a different route—to test my skills and gain a deeper understanding of how email servers operate under the hood. Using a shell script, a virtual private server (VPS), and my own custom domain, I successfully set up my personal mail server.
Part 1: The Logistics
Setting up an email server requires configuring multiple components. First, I needed a dedicated domain and had to set up essential text records to verify my domain with major email providers. Additionally, keeping the server secure and compliant with evolving security protocols is a constant challenge, but one that is rewarding to tackle.
Before I could begin, I had to contact my VPS provider, Vultr, to unblock SMTP ports on my account. These ports are often blocked by default for new accounts to prevent spam and phishing attacks. Since I had been a Vultr customer for almost a year, they were cooperative and quickly lifted the restrictions. With SMTP access enabled, I was ready to move forward.
Part 2: A Little Help From Shell Scripting
To run a fully functional mail server, I needed four key components:
- Postfix for sending outgoing mail
- Dovecot for receiving incoming mail
- SpamAssassin for filtering spam
- OpenDKIM for email authentication
Postfix is an open-source Mail Transfer Agent (MTA) responsible for sending emails. If the goal was only to send emails without receiving them, Postfix alone would suffice.
To handle incoming mail, I needed Dovecot, which provides both IMAP (Internet Message Access Protocol) and POP3 (Post Office Protocol) support.
IMAP, used in services like Gmail and Outlook, keeps emails on the server, allowing users to access messages from multiple devices dynamically.
POP3 downloads emails to the client, making them available offline but less flexible for multi-device use.
The final and most critical component, OpenDKIM, was essential for authentication. It generates cryptographic signatures that verify my domain's legitimacy, ensuring my emails are trusted by providers like Gmail, Yahoo, and Outlook. Without proper authentication, emails risk being marked as spam or rejected entirely.
Part 3: The Script and the Server
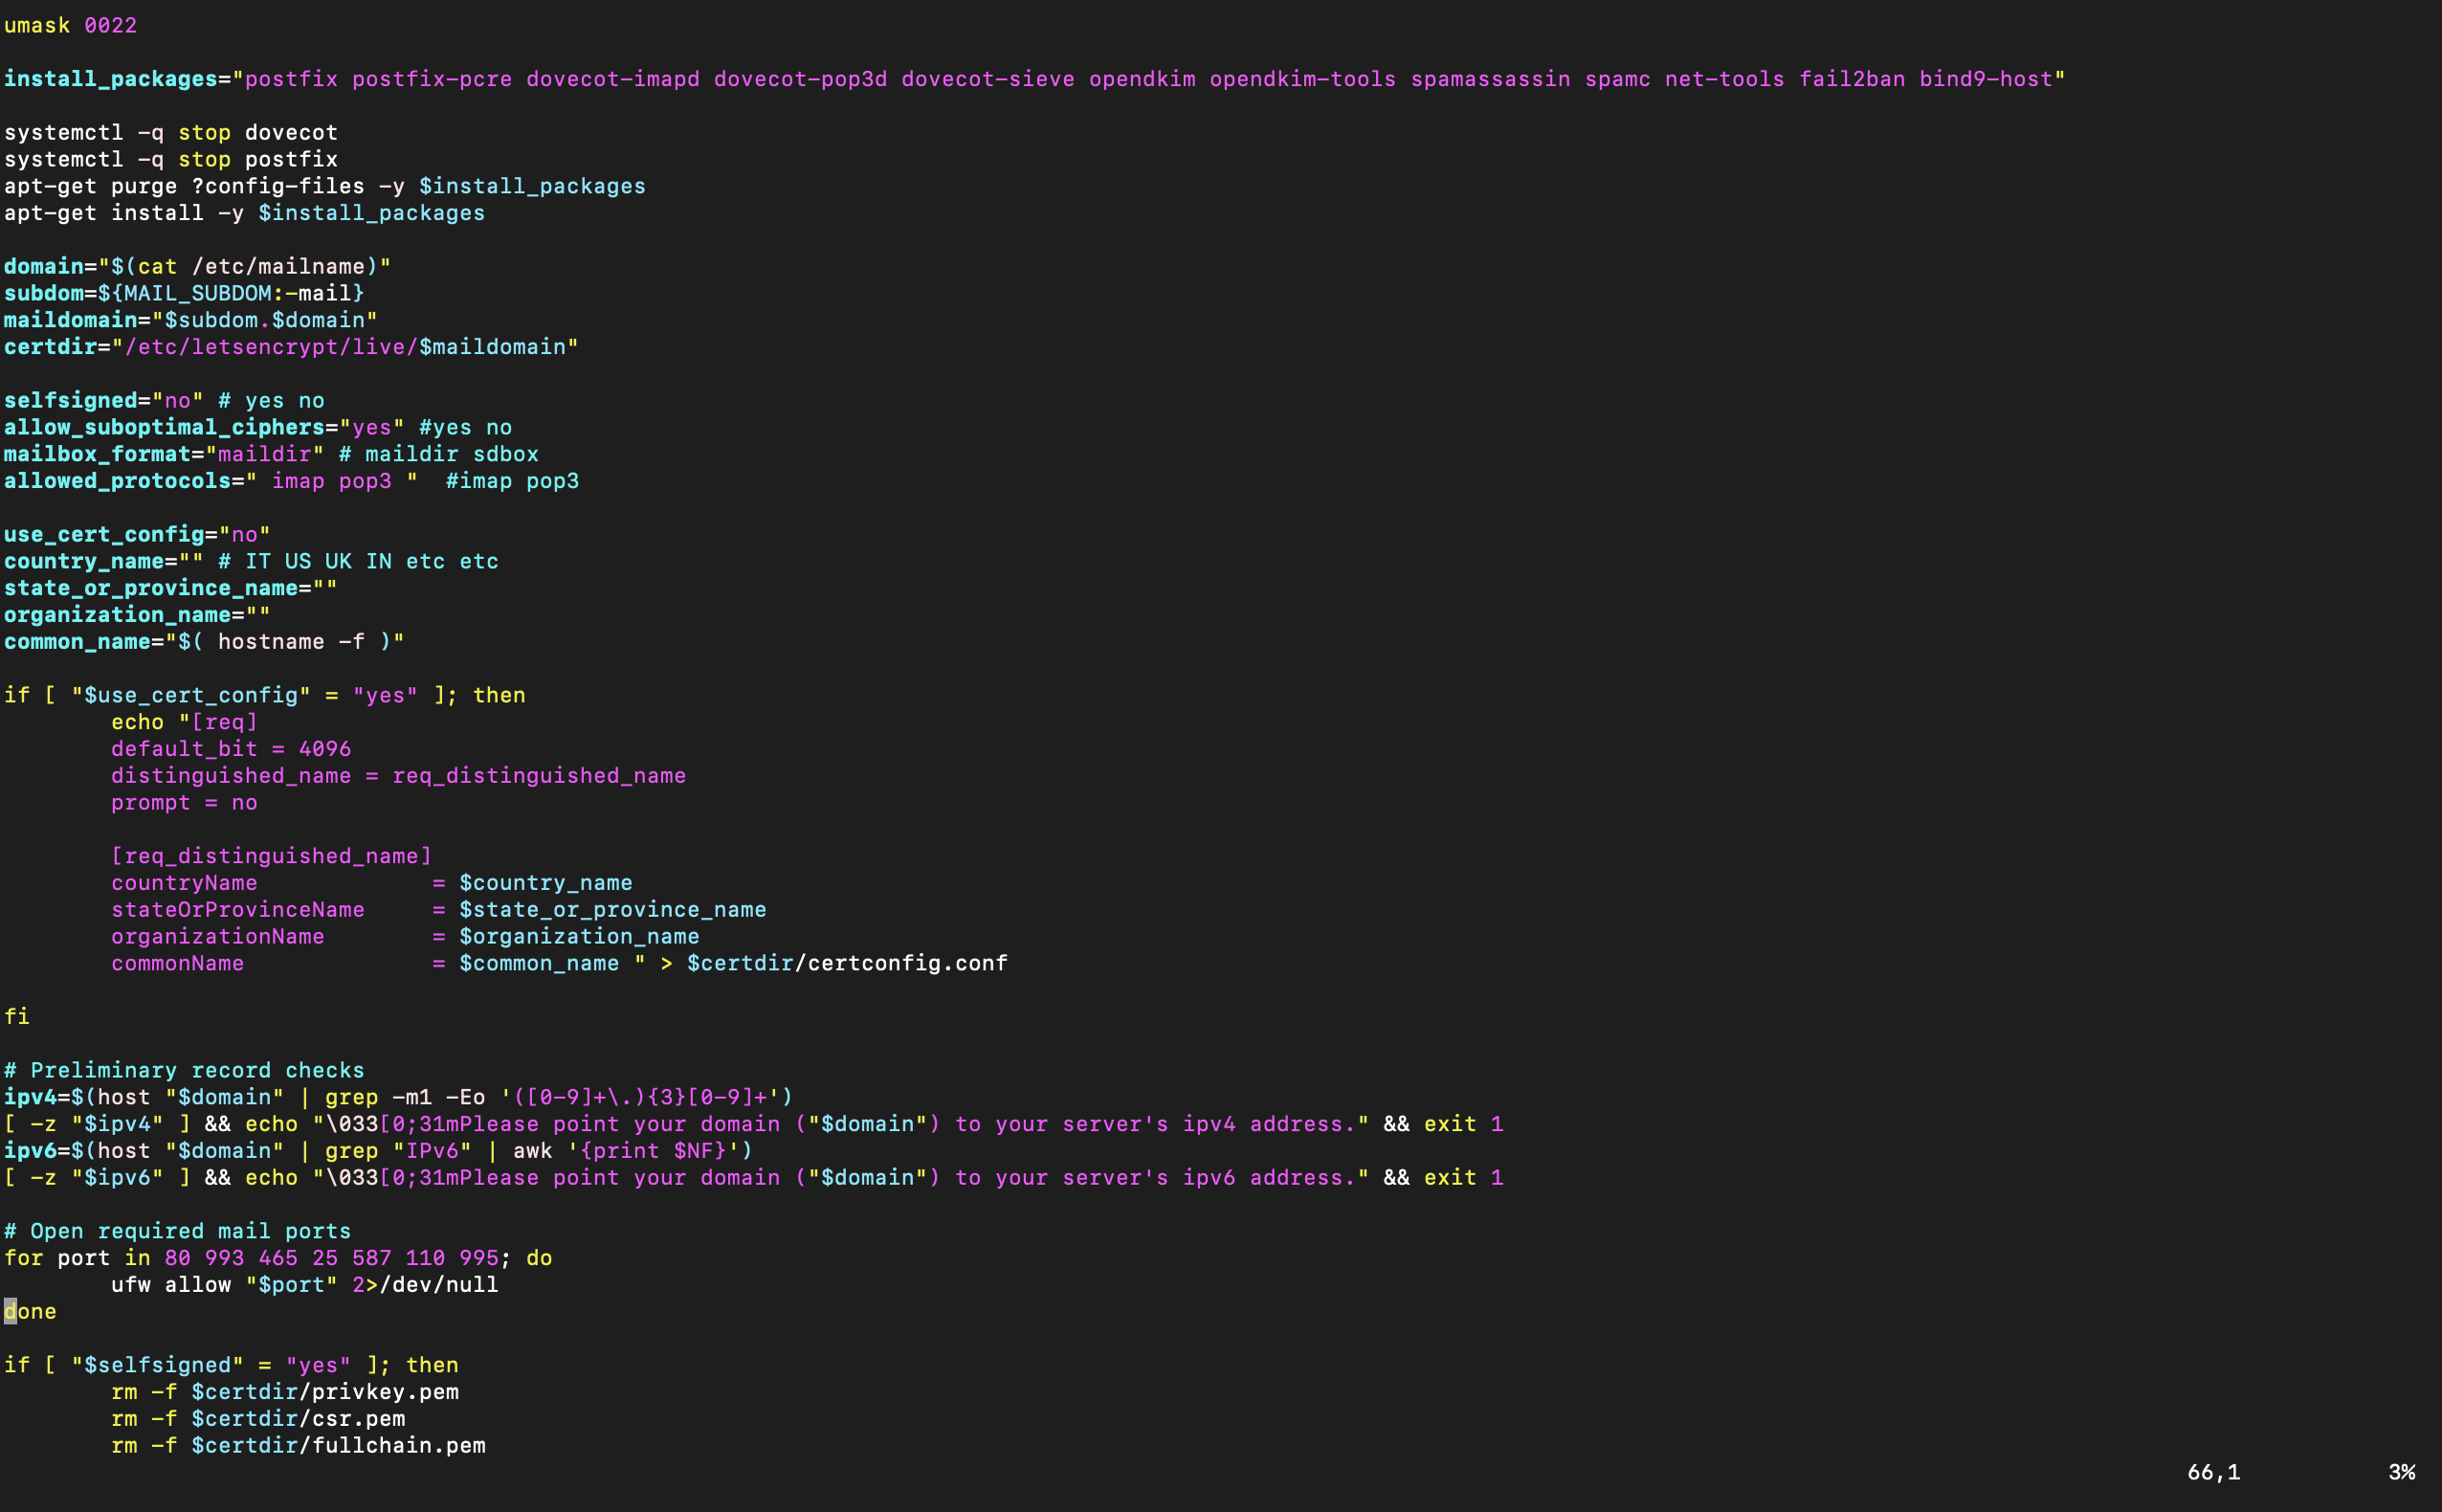
Installing and securing these services manually is a tedious and error-prone process. Fortunately, I found a well-crafted shell script that streamlined the setup.
A shell script is essentially a series of automated commands executed sequentially. These scripts are widely used to simplify complex tasks, reducing manual input and minimizing errors. Running the script configured Postfix, Dovecot, SpamAssassin, and OpenDKIM, while also setting up the necessary domain records.
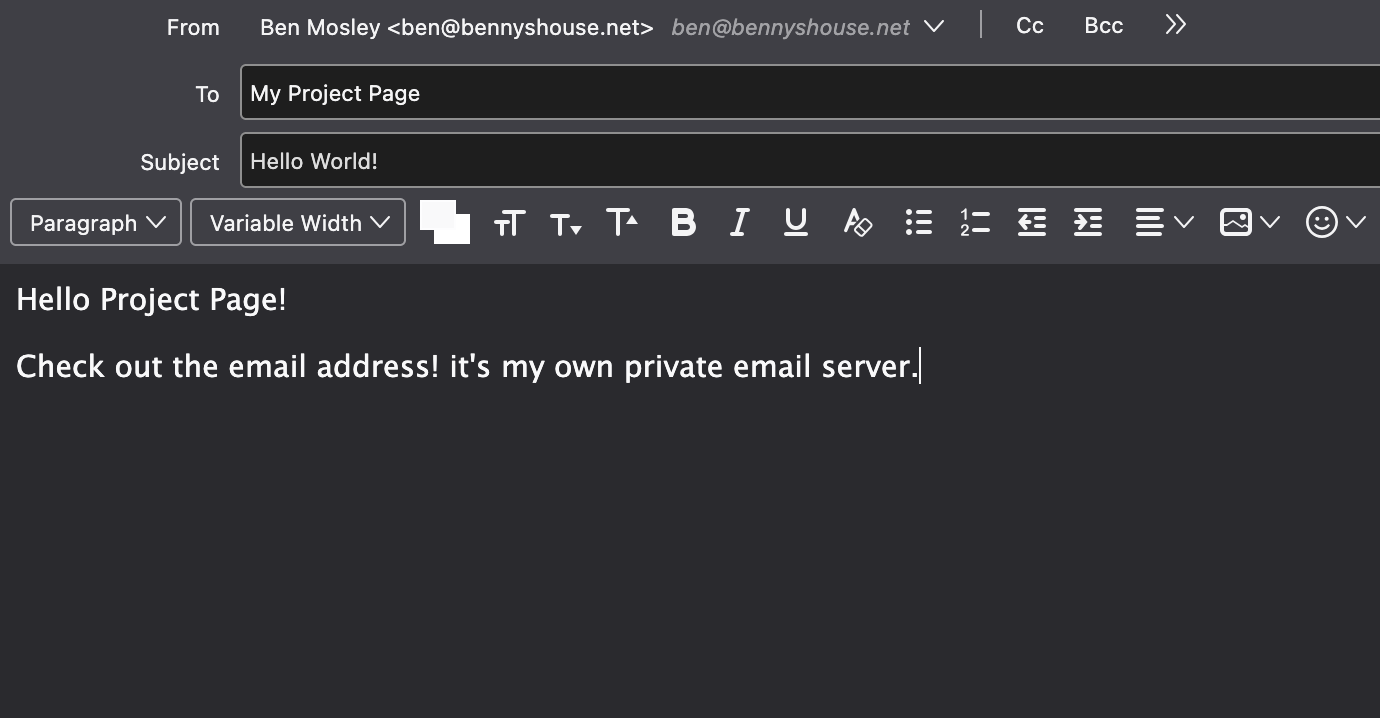
Once the script completed execution and I verified my domain records, my email server was live! I could now send and receive emails seamlessly across all major providers.
Part 4: Final Results:
Setting up my own mail server was a challenging yet rewarding experience. While using a managed email service would have been far easier, this project gave me valuable insights into the inner workings of email systems, authentication mechanisms, and network security.
The process reinforced the importance of proper configuration and ongoing maintenance. Moving forward, I plan to monitor logs, implement additional security measures, and explore further optimizations to keep my mail server running efficiently.